Gluten-free tortillas

Simple. Delicious. Easy.

These are the best tortillas we have eaten since going gluten-free.  We actually prefer them over regular tortillas.  I got the recipe from the blog Art of Gluten-Free Baking and made a few substitutes and additions.  These will change your gluten-free life!

Ingredients:
2 cups Pamela’s Artisan Gluten-free Flour blend (you can find at Kroger and  Natural Grocer)
1 1/2 teaspoons sea salt
2 teaspoons aluminum free baking powder
1-2 tablespoons of tomato powder (optional or your favorite spice)
5 tablespoons unsalted organic butter, cold and cut into 1 tablespoon pieces
3/4 cup warm water

Each batch makes about 8 tortillas – we usually double the recipe.

tortilla premix
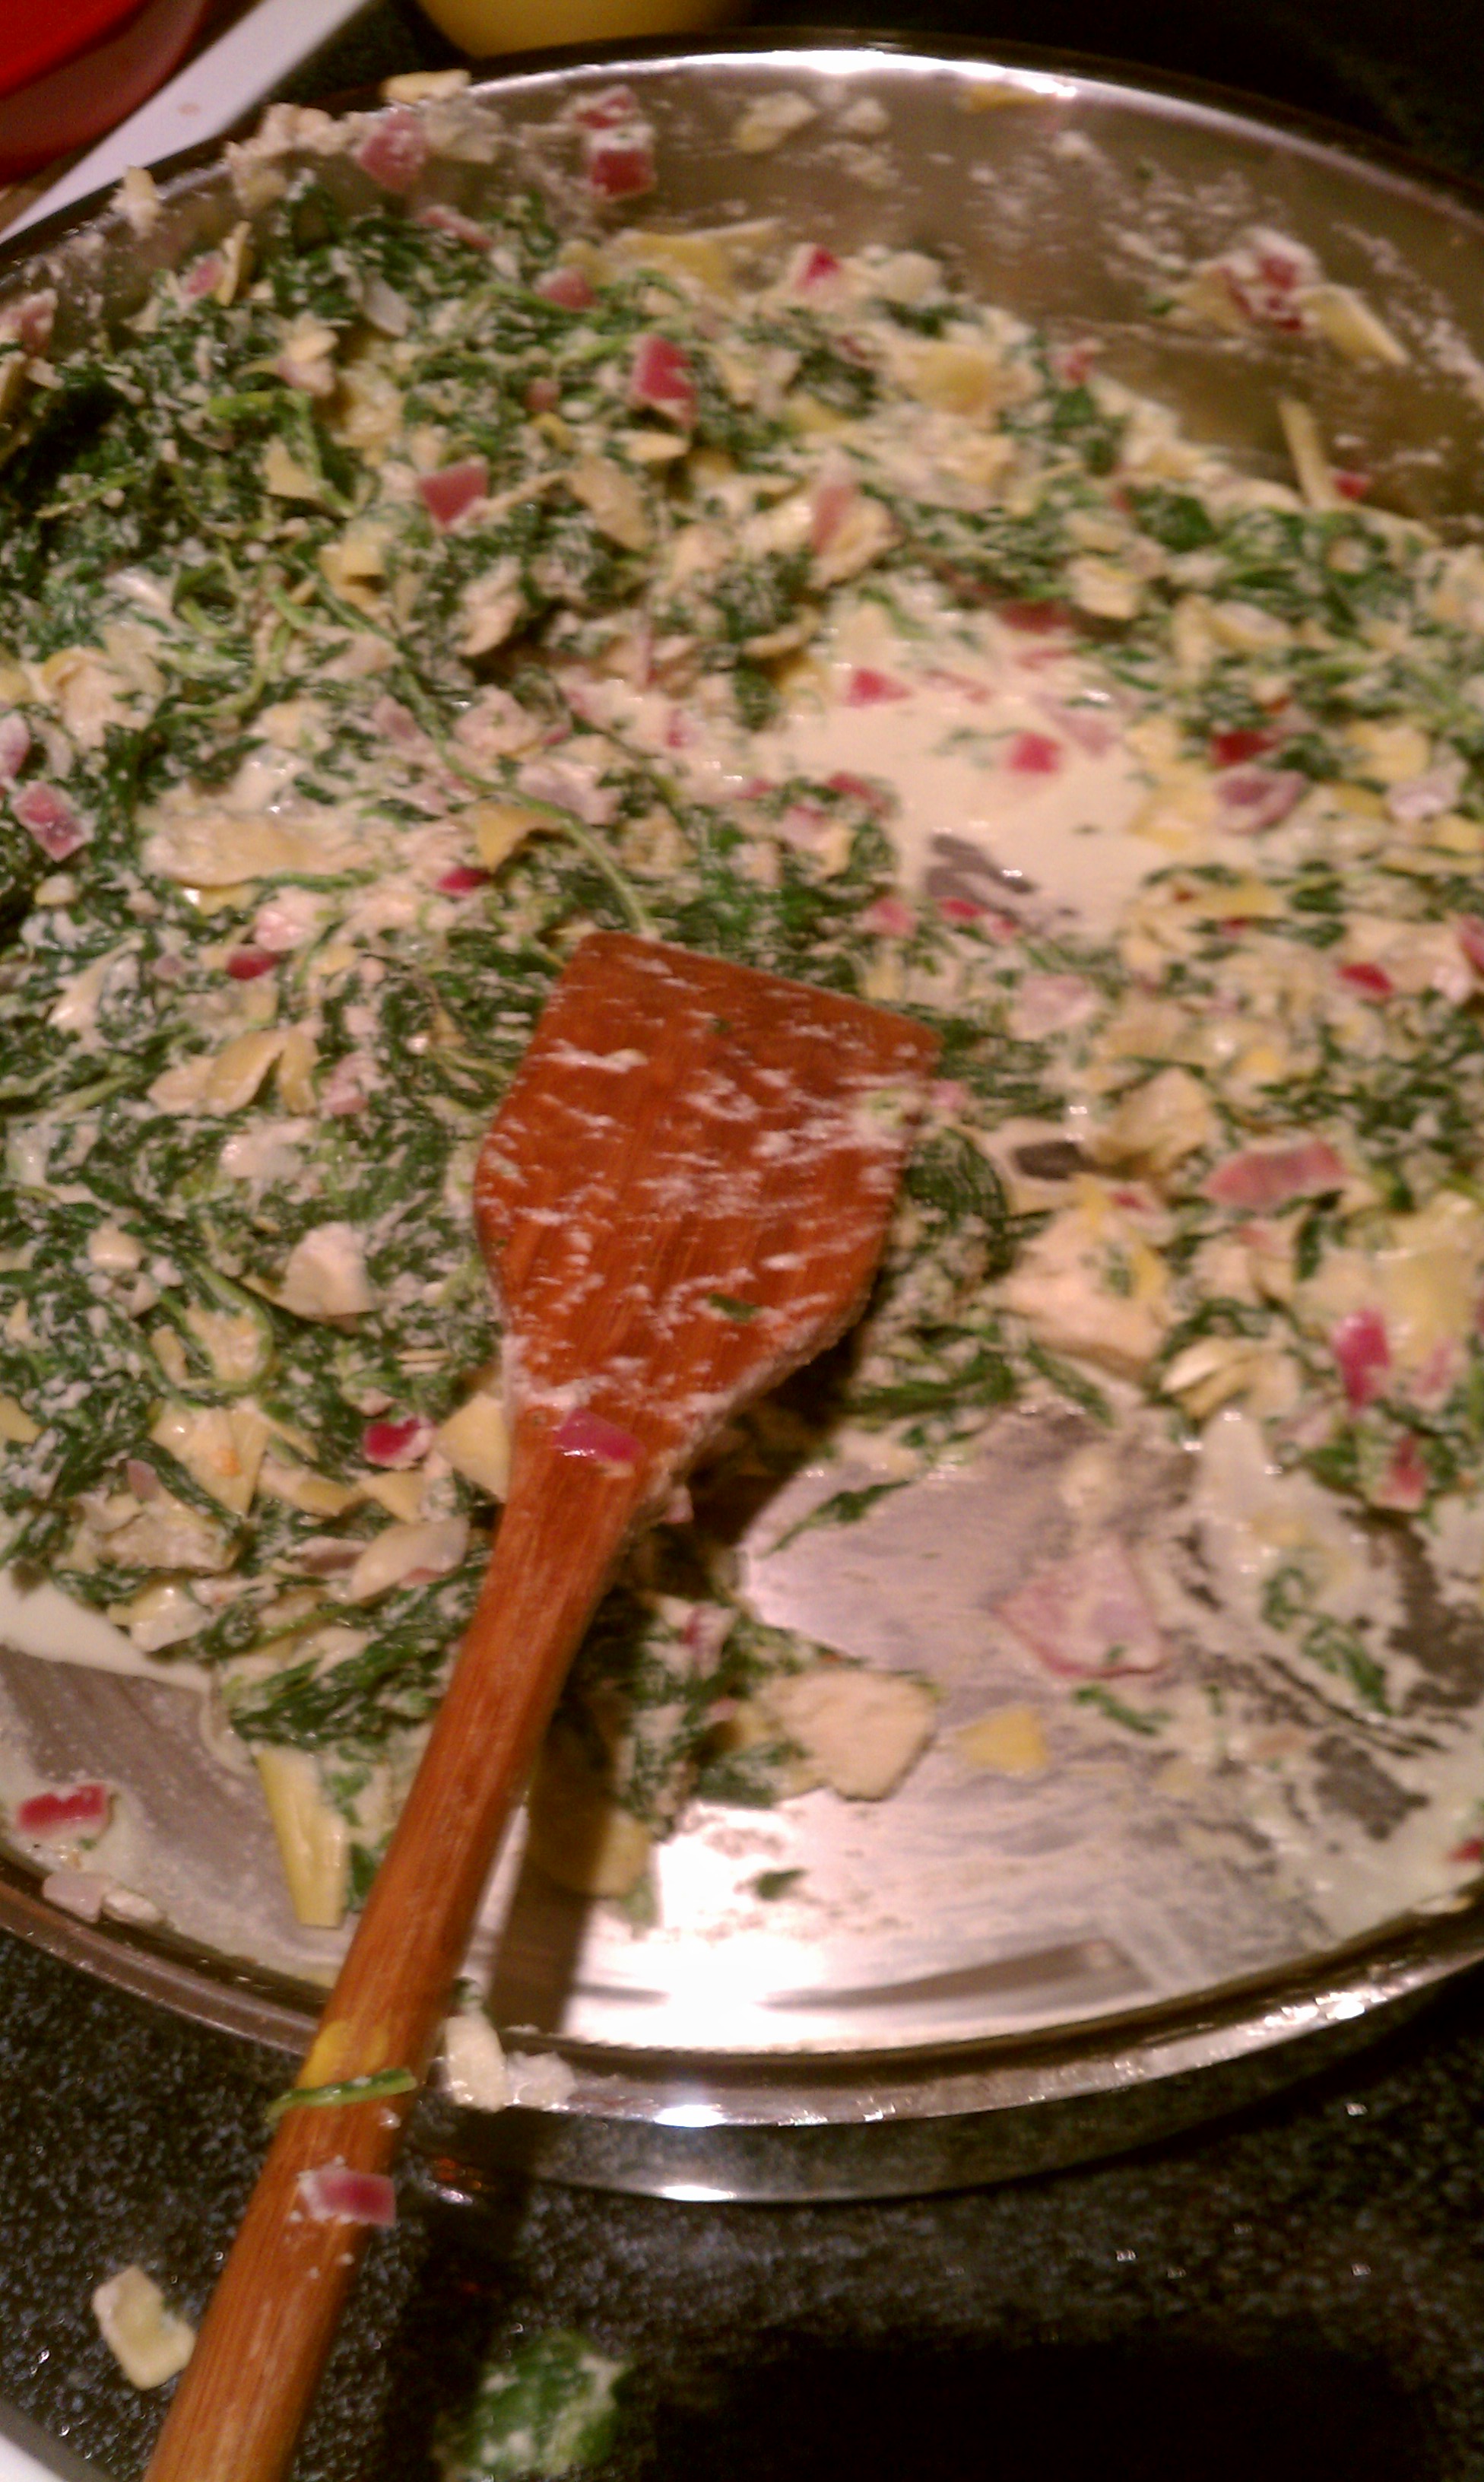
In your food processor mix flour, salt, baking powder and tomato powder.

Add your butter pieces and mix until it looks like wet sand.tortilla wet sand

Then add the warm water and mix until a dough ball forms.

tortilla mixed

Place the dough ball in plastic wrap or in a container with a lid for 30 – 60 minutes at room temp. This will help distribute the water through the dough.  You can refrigerate the dough if you aren’t going to use it the same day.

When you are ready to make tortillas, roll the dough into 8-9 balls.

tortilla rounds

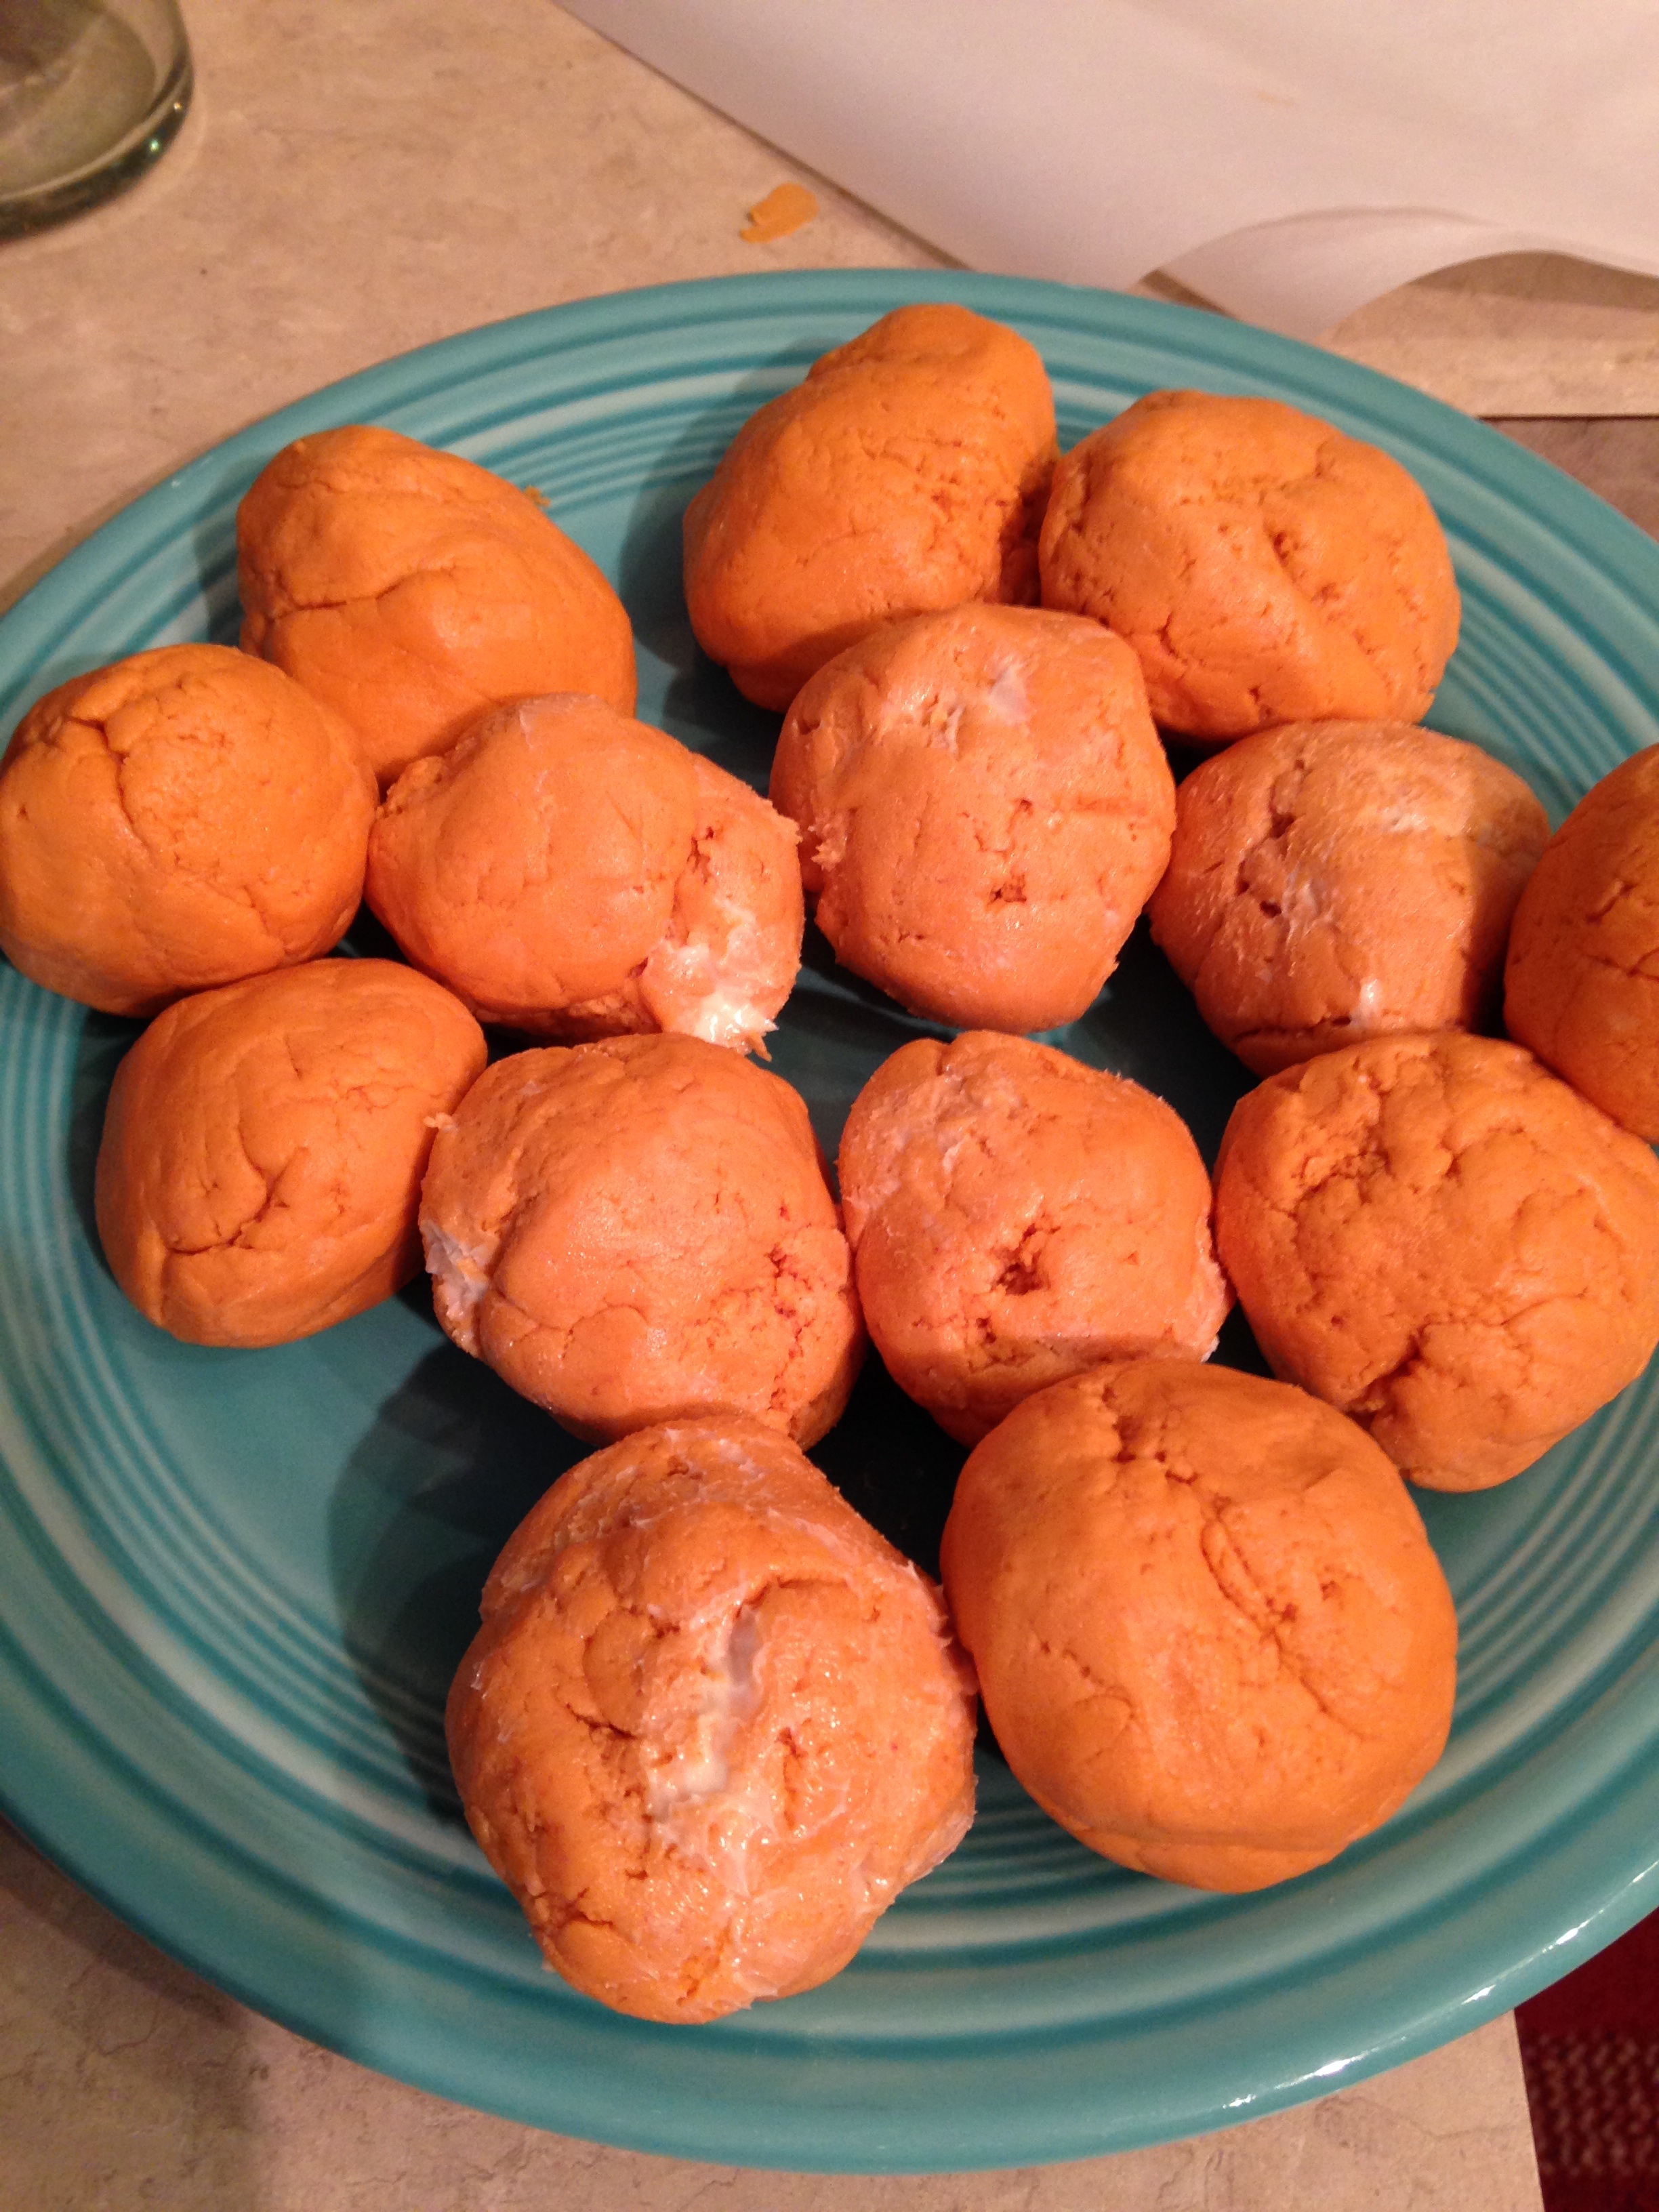
Then roll out the dough balls.  We use two pieces of parchment paper and a rolling pin unless you have a tortillas press.  Then place the tortilla in a pan heated to medium with oil (we use Grapeseed oil).  Cook for about 60 seconds while bubbles form on the top and then flip and cook the other side.rolled tortilla tortilla in pan

We love to use them as tortillas for homemade breakfast burritos.  We fill them with a mix of breakfast sausage, eggs, green chili, hash browns and spinach.  Then we roll them up in foil and freeze them for a super simple and delicious breakfast during the week.  Just stick them in the oven for 30-45 minutes while getting ready and then grab and go!

Burrito making burrito assembly finished burrito


We have also made them and then cut them into triangles for homemade tortillas chips and they were a HUGE hit.

There you have it…gluten-free tortillas that you will love.  Thank you to the Art of Gluten-Free Baking for figuring out this awesome recipe!

Ade_signature2

Advertisement

Fresh Perspective

CT_LOGO_WEB
Fresh Perspective is a favorite recipe in our household as it allows you to use whatever is “fresh and in season” or straight out of the garden to change up the dish. This is a main dish idea shared originally by a friend and we have altered to make our own.
Before I share the recipe, I thought it was also appropriate to share another “fresh perspective”. Cornered Tomato got a face lift with a new color palette, new logo and new design – a”fresh perspective”. Check it out and if you like what you see, check out the company, Chooba Rue Design, and artist, Holly Beals, behind the new look.
Fresh Perspective Recipe
  • 1 sweet potato
  • 1-2 red potatoes
  • Aidells pre-cooked chicken apple sausage
  • 1 container of cherry or grape tomatoes – or those out of your garden
  • a small bundle of spinach
  • 1 can of pineapple or a fresh pineapple
  • fresh addition ideas for those items in season include squash, artichokes, peppers, broccoli, carrots, kale…the options are endless
  • Italian seasoning mix (oregano, rosemary, etc), red pepper flakes, spices of your liking

Preheat oven to 350. Cube the sweet potato and red potatoes. Spray olive oil in your casserole dish and place the cut up potatoes in the dish.  Cover with Italian spice mix (oregano, rosemary, etc) and red pepper flakes (add based on your desire for spiciness) and then pour a bit more olive oil over the potatoes, stir and cook only the potatoes for 30-45min at 350 (the smaller you cut the potatoes, the less time you need to precook them – if you don’t precook them the potatoes will still be tough when everything else is cooked).  While potatoes are cooking cut the chicken apple sausage into thin slices, rinse the tomatoes, cut the pineapple (if necessary), rinse and chop a couple handfuls of fresh spinach and anything else you want to add to the mix.

Potatoes should be starting to get a bit softer at the end of their cooking time.  Take the casserole dish out of the oven and add all other ingredients.  Stir together and add some more of the same spices listed above and some of the pineapple juice (if using from a can – if fresh pineapple the juice will seep out of the pieces). Return to oven and bake another 30 – 40 minutes or until the little tomatoes start to pop.

Enjoy this “fresh perspective” all year round with a different twist in each season.

Ade_signature2

Spinach Artichoke Dip

This is a new family favorite recipe in our household.  For years my husband has made a crowd pleasing spinach artichoke dip that is a hit at parties…it includes mayo and cream cheese.  So I made this spinach artichoke dip (found at Paleo Spirit) and had him taste test it to see how it measured up…after 1/2 the batch was gone before I could get it out of the pan, we both concluded that this is our new favorite dip recipe.  It yields a creamy but dairy free version of our original recipe…

Spinach Artichoke Dip

How is that possible? That was my initial question and until I tasted it I was doubtful.  The secret is cashew cream.  Cashew cream is very easy to make at home and the Paleo Spirit website is also where I found the simple recipe. They key here is to make sure you start the cashew’s soaking in water a day before you want to make the dip.

Raw Cashew Cream (recipe from Paleo Spirit):

  • 1 cup raw, whole cashews (make sure they are not salted or roasted)
  • fresh, filtered water
  1. Rinse your cashews, put them in a bowl and cover them with water and allow to soak at least 2 hours but preferably over night.
  2. Drain cashews, rinse and put them in a food processor with 1 cup of filtered water.
  3. Blend on high for a couple of minutes until you have a creamy texture

Makes 1 1/2 – 2 cups of cashew cream…perfect because that is exactly what the spinach artichoke dip calls for.

Spinach Artichoke Dip (recipe from Paleo Spirit):

  • 2, 10 ounce boxes of frozen, chopped spinach
  • 2, 14 ounce cans or jars of artichoke hearts (I prefer jars and ones that have a bit of spice added)
  • 1 tablespoon olive oil
  • 1 small onion, diced (about 1 cup)
  • 2 garlic cloves, minced
  • 1 1/2 teaspoons sea salt
  • 1 teaspoon onion powder
  • 1/2 teaspoon garlic powder
  • 1/2 teaspoon black pepper
  • 1/4 – 1/2 teaspoon cayenne pepper
  • 1 tablespoon lemon juice
  • 1 1/2 – 2 cups cashew cream from above recipe
  1. Defrost spinach and squeeze out extra water
  2. Drain and chop artichokes
  3. Saute onion in olive oil for about 10 minutes and then add garlic and cook for another minute
  4. Stir in the artichokes, salt, onion powder, garlic powder, black pepper and cayenne pepper and let them heat
  5. Add in the spinach and lemon juice and let them heat
  6. Now stir in your cashew cream

It is best served warm – use sliced cucumbers, red bell peppers, blue corn tortilla chips or any type of cracker for scooping and enjoying this amazing and healthy dish!  It would make an excellent March Madness treat…

Chocomole pudding…

Chocolate pudding made from avocados?!!!  If your response is anything like mine, it is hard to envision a chocolate dessert pudding that is made with avocados. You might be seeing a green pudding but rest assured the pudding is not green, it doesn’t taste like avocados and it IS good and healthy.  Did you know that avocados are packed with good fats and have more useable protein for your body than a steak?

You will just have to try it for yourself.  Do a fun taste test – serve it to friends and family that have not watched you make it and do not know what ingredients are included. The pudding is not super sweet but instead is reminiscent of a dark chocolate flavor. The avocados are simply there to add “pudding texture”. I found the recipe here and then added a few notes and modifications which are included in my recipe below.

avocados

Ingredients:

  • 2 avocados – the riper the better your pudding will mix and be a better texture
  • 2 Tablespoons of honey (raw and unfiltered is the best)
  • 1/3 cup cocoa
  • 2 Tablespoons of melted coconut oil
  • 1 teaspoon of vanilla extract
  • Unsweetened almond milk – add to your desired creaminess
  • Agave – add a bit to enhance texture and sweetness

Directions:

The recipe requires a lot of taste and texture testing throughout to get your desired pudding (bummer, right?!!). Combine all ingredients (except for the almond milk and agave) in a blender or food processor and puree until you reach your desired consistency.  This is where I added a bit of almond milk and agave to create a creamier texture and a bit sweeter taste.  Place in the fridge and allow it to get cold – usually takes about an hour – and then enjoy and surprise your friends with your interesting and tasty creation!

chocolate pudding

Amazing muffins and my life

My life has been turned upside down in the last three weeks with a diagnoses of breast cancer at the age of 32. I write this with overwhelming gratitude to those that turned my life back from upside down. The community of support has been overwhelming – from family to friends to co-workers – I am in awe of their kindness. I will post more as time goes on about our process and path through this breast cancer journey on another blog titled “The Boobie Bunch” – there will be a link in the menu bar of Cornered Tomato.

This specific post gives a shout out to my friend Sara as this is a recipe from her kitchen. The muffins are something she made us that we devoured.  People are volunteering to bring food for my upcoming surgery and given that I don’t eat gluten, dairy, soy or sugar…that leaves most people wondering, what food can I make her?  Well ice cubes are always good…:)  Kidding, just kidding!  I am filling up my recipe link here on Cornered Tomato with recipes that we have invented or tried from others that we love.  This allows anyone to come  and pull a recipe that we will be able to eat.  Once again, I can’t thank my family, friends and community enough for the joy you have brought in this difficult time as well as our strength and humor from our Father.

Sara’s Amazing Muffins

  • 2 1/2 – 3 cups oat flour – depending on consistency you want – purchase oat flour in the bulk section at Vitamin Cottage or Whole Foods or purchase oats and use a food processor to grind for oat flour
  • 2 tsp. aluminum free baking powder – you can get aluminum free at any grocery store
  • 1 tsp. cinnamon
  • 4 Tbsp. coconut oil
  • 1 1/2 tsp. egg replacer (we used part of a real egg) mixed with 
  • 2 Tbsp. rice or oat milk – we used unsweetened almond milk
  • 1 Cup cold applesauce
  • 1/2 Cup honey
Preheat oven to 400 degrees. Combine oat flour, baking powder, and cinnamon in a large bowl. Add the coconut oil and using a wire pastry cutter, cut it into the dry ingredients until it’s the texture of a course meal. Add applesauce and honey to egg replacer, and then pour into dry ingredients, mixing until combined but still lumpy. Line muffin cups (9-12 depending on size you wish your muffins to be) with liners. Fill each cup with batter. Bake for 25 minutes or until golden brown on top.
Eat and enjoy!

Taco Crusted Chicken

This recipe will spice up any occasion from a back-yard barbecue to a sophisticated dinner. Better yet it has a short list of ingredients and is simple to put together.

  • 4-6 chicken breasts
  • 1 – 1 1/2 cups of unsweetened almond milk (original or vanilla)
  • 1/3 cup dry minced/chopped onion (I found this at Vitamin Cottage in their bulk spices)
  • 1/2 teaspoon oregano
  • 1 teaspoons sea salt (I use 1/2 of this or leave it out altogether)
  • 1 teaspoon garlic powder
  • 1 teaspoon cumin
  • 2 teaspoons chili powder
  • 2 Tablespoons brown rice flour
  • 2 Tablespoons paprika

Mix all spices together (everything after the almond milk in the list above including the brown rice flour).  Put the mixture of spices onto a plate. Pour unsweetened almond milk into a bowl.  Cover chicken with milk by turning it over in the milk bowl and then place it on the plate and roll it in the spice mixture. Either place in cooking dish to bake or a plate to take out and grill.  You want to watch the chicken because you want the chicken to be done but you don’t want to burn the taco crusting. The best way to check to ensure the chicken is done is to use a meat thermometer – chicken is done at 165 degrees.

The brown rice flour above allows the mixture to “bread” the chicken without the gluten.  You can leave the brown rice flour out if you want a simple chicken seasoning.

Ready, set, spice up your chicken!

An unlikely pair – apricots and cherries

I have never tasted better cherries than the ones we have gotten the last couple of weeks from our CSA share. The last couple of weeks have brought not only fresh cherries but fresh apricots as well – an unlikely pair.  Inspired by a good friend and a recipe I found online by Erika Kerekes for Apricot Cherry Clafoutis (a baked French dessert) I created a gluten free, dairy free, sugar free version of the Apricot Cherry Clafoutis. It makes an unlikely pair into an easy, unique and delicious treat.
                    
  • 6 large or 8 small fresh apricots, pitted and cut into chunks
  • 1 cup fresh cherries, pitted
  • 1 1/4 cups unsweetened almond milk
  • 3 eggs
  • 1/2 cup agave
  • 1 tsp vanilla extract
  • 1 tsp almond extract
  • 1/2 cup almond flour
  • 1/8 tsp salt

Heat oven to 375 degrees. Spray a small casserole dish or a pie plate with cooking spray (I used olive oil in a oil sprayer) and add your apricots and cherries (make sure to remove pits). Whisk together the almond milk, eggs, agave, vanilla and almond. Add the almond flour and salt and whisk until smooth.  Pour the mixture over the fruit and bake for 45 minutes.  The top should be lightly browned. It should no longer be liquid in the center but will be jiggly.  Let it cool and enjoy!

Thin Mint or Peppermint Patty Cookies

       This sugar free, gluten free, dairy free, soy free cookie recipe is adapted from one of my favorite cookbooks, the Gluten-Free Almond Flour cookbook, by Elana Amsterdam. She has a myriad of other fabulous recipes on her website.

I took her recipe for Chewy Chocolate Cookies and made a dough that can either be rolled flat and cut into thin slices to mimic a Thin Mint or made thicker to taste more like a peppermint patty.  Here’s the recipe with the secret ingredient at the end!

  • 3 cups blanched almond flour
  • ½ teaspoon sea salt
  • 1 teaspoon baking soda
  • ½ cup arrowroot powder
  • ¼ cup unsweetened cocoa powder
  • ½ cup grapeseed oil
  • ¾ cup agave
  • 1 tablespoon vanilla
  • 7 drops of natural peppermint oil (I use LorAnn Oils)

Preheat oven to 350. Line a cookie sheet with parchment paper.

In a large bowl mix the almond four, salt, baking soda, arrowroot powder and cocoa powder. In a medium bowl, whisk together the grapeseed oil, agave and vanilla. Mix the wet ingredients into the almond flour mixture until thoroughly combined. Add 7 drops of peppermint oil and mix again. Scoop the dough (about a ¼ of a cup) onto baking sheet or roll out and use a cookie cutter or glass rim to cut thin circles in the dough and place on the cookie sheet.


Bake 10 – 15 minutes if you use scoops. Bake 9-11 minutes if you roll out the dough and use flat circles. Let the cookies cool on the baking sheet for 30 minute – this also allows them to finish a last bit of cooking. You don’t have to worry about egg in this recipe being undercooked and that even means you can sample the dough!

We love ours with a glass of unsweetened almond milk. Enjoy!